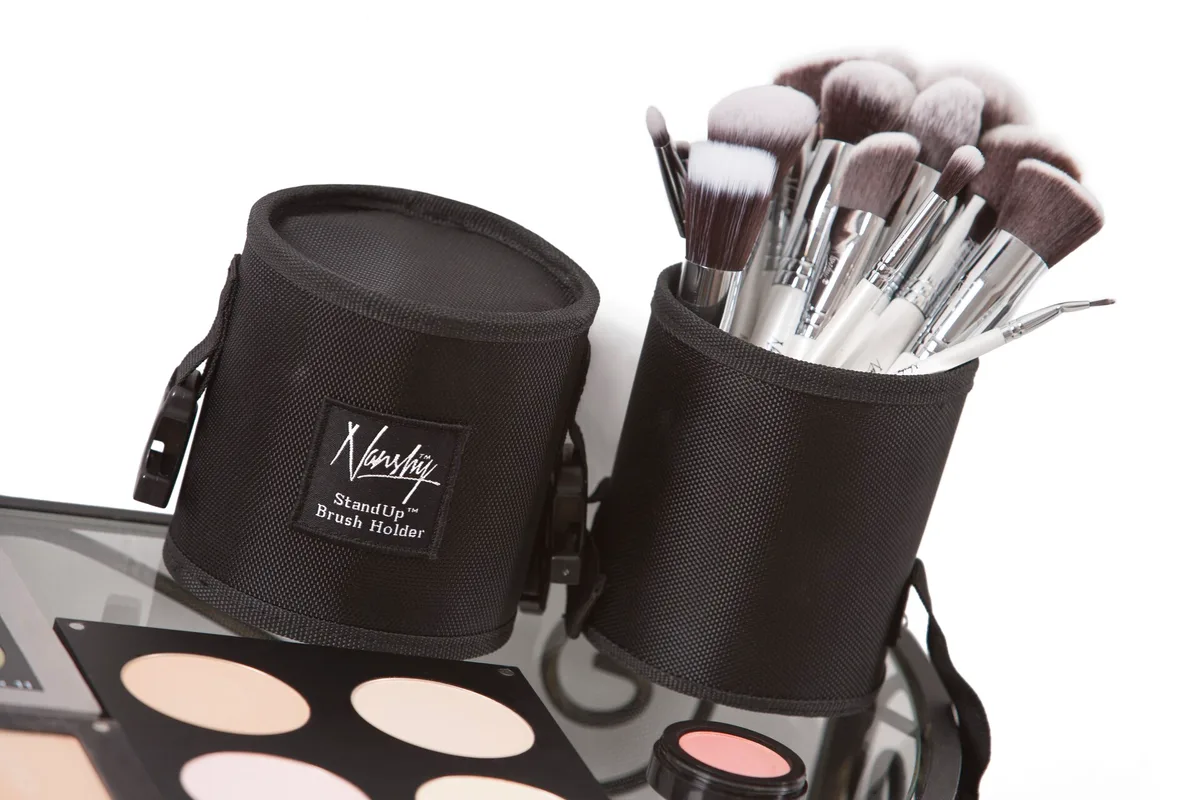
You really need about five makeup brushes: a foundation brush or sponge, a powder or buffing brush, a blush brush, a blending brush for eyeshadow, and a flat shader brush. Everything else in a 20-piece set is a variation on one of those jobs.
The reason is simple: brushes are shaped for a task. A brush that packs pigment onto the lid has flat, firm bristles. A brush that softens an edge has loose, fluffy ones. If you match the shape to the job, a small kit does the work of a large one — and you finish faster, because you're not digging for the right tool. This guide walks through each brush, what it does, and which one can pull double duty when you want to carry even less.
Which brushes come first in a minimal kit?
Start with the two that touch the largest areas: something for base and something for powder. Base tools spread liquid or cream foundation evenly, and powder brushes set or soften what's underneath. If you're building a routine from scratch, it helps to know where these sit in the full sequence — our guide to In What Order Do You Apply Makeup? The Sequence After Skincare covers the order these steps land in.
For base, you have two honest options. A dense, flat-top brush presses liquid foundation in with a stippling motion, which keeps the coverage where you placed it. A damp sponge gives a softer, more skin-like finish, because it presses the product in and absorbs the excess. Neither is better; they finish differently. Pick the texture you prefer on your skin.
A powder brush is large and fluffy so it can dust a light layer over the whole face without disturbing what's beneath. Swirl it in the pan, tap off the excess, and sweep where you shine. If you use cream products only, you can skip this one for now and revisit it later.
Do you need separate brushes for blush and bronzer?
Strictly, no — you need one fluffy, angled or rounded cheek brush, and you can use it for both. The trick is order, not ownership: pick up powder blush first, bronzer second, and the darker product won't muddy the lighter one. Tap off excess between products.
What the shape buys you is placement. An angled cheek brush hugs the cheekbone, which makes it easier to keep blush where you intended. If placement is the part you struggle with, our walkthrough on How to Apply Blush: Where to Place It and Why Placement Changes Everything pairs well with this brush.
One caveat: a cheek brush used for powder blush shouldn't then be dipped into a cream blush without a wash in between. Cream and powder don't share a bristle well, and a loaded brush streaks.
What about eye brushes?
Two eye brushes cover most looks. The first is a flat, fairly firm shader brush — it picks up pigment and packs it onto the lid in one press. The second is a fluffy blending brush, which has no job except softening edges. If you've ever ended up with a hard line of shadow in your crease, the missing tool was the blender.
These two also answer the most common beginner question: why does eyeshadow look patchy? Usually because one brush is being asked to do both jobs. A shader brush places color; a blending brush erases the borders between colors. Used in that order, even two shades read as a deliberate look — the two-shade approach in Eyeshadow for Beginners: Three Looks You Can Build With Two Shades Each relies on exactly this pairing.
If you do crisp liner, a small angled brush earns its place as a sixth tool. It presses gel or powder liner tight to the lash line, which is hard to do with anything else. It's optional, not essential.
Which multi-taskers replace a full set?
Three swaps do most of the consolidating:
- A damp sponge replaces the foundation brush. It also presses concealer under the eyes and can sheer out a heavy-handed base. One tool, three jobs.
- A fluffy dome brush replaces separate blush, bronzer, and powder brushes. The shape works for all three; clean it between cream and powder products and you're set.
- The blending brush doubles as a soft smudger. Fluff it along the lower lash line to soften liner, or sweep a light shade through the crease.
That leaves a realistic travel kit of four items: sponge, dome brush, shader, blender. It fits in a small pouch and covers a complete face. Our earlier breakdown of the Makeup Brushes You Actually Need: The Five-Brush Minimal Kit takes a similar view, adding a dedicated concealer brush for anyone who spot-conceals daily.
What this means for the rest of your drawer
Our analysis is that most brush sets are bought for the moment, not the routine. The extra pieces — fan brushes, multiple liner sizes, tiny detail brushes — serve looks you may never do. Buying by shape and job, instead of by count, keeps the drawer honest and the cleaning load small.
Cleaning matters more than quantity. Bristles loaded with old product apply unevenly and hold onto it. A quick weekly wash of the brushes you use daily, with a gentle soap and a flat dry, keeps performance predictable. And the same hygiene logic applies to the products those brushes touch — mascara in particular has a real shelf life, which we cover in How to tell when it's time to toss your mascara.
If you're starting from zero and want the brushes in the context of a whole routine, Makeup for Beginners: A Five-Step Routine That Takes Ten Minutes shows where each one slots in.
The takeaway
Five brushes cover a full face: base tool, powder brush, cheek brush, shader, blender. Three multi-taskers — a damp sponge, a fluffy dome brush, and the blender doing double duty — can cut that to four without cutting results. Match the shape to the job, keep the ones you own clean, and skip anything whose job you can't name.